
With the Open Source Software Jarvis you can set up a voice-controlled device acting similar to Amazon Echo/Dot. It doesn't have as many features out of the box - but you can trigger scripts and therefore control almost everything. A step-by-step guide for setting up a Raspberry Pi from OS installation to your first individual commands. Suitable for Beginners (and other Linux distributions).
But first: We normally don't write articles in English, so please overlook bad grammar and wording. An no word on style ... The reason for this exception is simple: The software works great, but sadly the whole project homepage is in French and Jarvis isn't that well covered on the net. So I'll give my best translating the article I wrote in German. Hopefully it's useful for anyone who doesn't understand French. Well, it would have been for me ...
Overview
The whole workflow ist pretty simple but requires many clicks - and since we're showing every single Screen, it seems extremly long. But don't worry, in most screens you just have to click on some OK buttons. The whole is devided into a few sections: getting API-Keys (more on that later) for Microsoft Bing, flashing Raspbian to an SD card, installing and using Jarvis, installing plug-ins, creating own commands.
The result: In the end you can trigger scripts and simple question-answer-conversations, ask the Wikipedia, hear website contents read aloud and some more stuff. Our system is built with a Raspi but Jarvis runs on regular desktop Linuxes as well.
Requirements: Raspberry Pi 2 or newer, SD card with 16 Gigabyte, USB microphone and some speakers. You can connect via SSH or just use local mouse, keyboard and monitor.
In a nutshell: Experienced users my get along with this short version because the main part ist mainly following the setup wizard.
- Flash Raspbian with Win32 Disk Imager on SD card.
- Expand filesystem with raspi-config.
- Clone Jarvis with git.
- Get Bing API keys.
- Install Jarvis with jarvis/jarvis.sh
- Start Jarvis with jarvis
- Install and use Wikipedia plug-in.
- Check commands syntax and read the last two steps.
Important hint: If you cancel a step in the setup wizard you won't get back to the previous menu but to the next step. Then you have to configure that step in the running jarvis or go through the whole wizard again.
By the way: We're using just the developers recommendations - that don't have to be the best settings for your or any project. But this way you get a clean, running system and you can reconfigure and tune later.
1. Get API keys
Jarvis can use differen backends for voice recognition, by default this is Bing. Programms need those keys for authentication and accessing the bing service. You get the keys here - got to the Speech tab:
Log in with one of the accounts:
Copy the keys, you'll need one of them.

2. Flash Raspbian
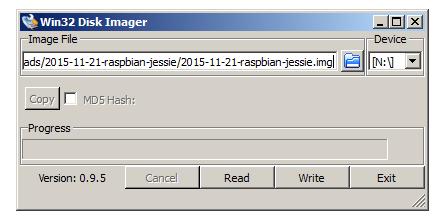
For this howto we used the recommended old Raspbian on Debian Jessie base - which will be upgraded during the process. The newest Raspbian version should work just fine. Plug in the SD card, open up Win32 Disk Imager, choose the card as device, as image the downloaded Raspbian ISO file start with Write.
Now make the Pi ready: plug in network, mic, SD card, mouse, speakers and a monitor. Sound over HDMI works well. Boot the Pi. And by the way, the standard Raspbian login is user "Pi" with password "raspberry".
3. Expand filesystem
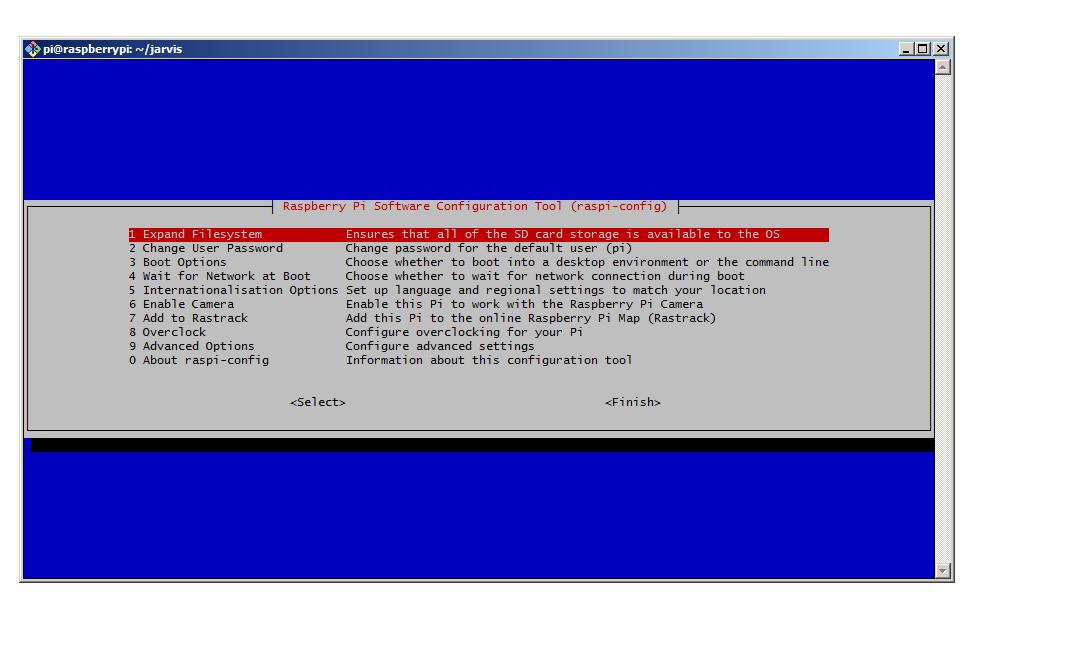
Raspbian just uses 4 GB of the SD card so you have to expand the filesystem. Just call
raspi-config
in a terminal window and choose the first option Expand filesystem. Hint: In such text menus you navigate with the arrow keys, confirm with ENTER and activate options with SPACE.
4. Install Jarvis
Clone Jarvis with git:
git clone https://github.com/alexylem/jarvis.git
Go to the new folder "jarvis" and start the setup:
cd jarvis/
./jarvis.sh
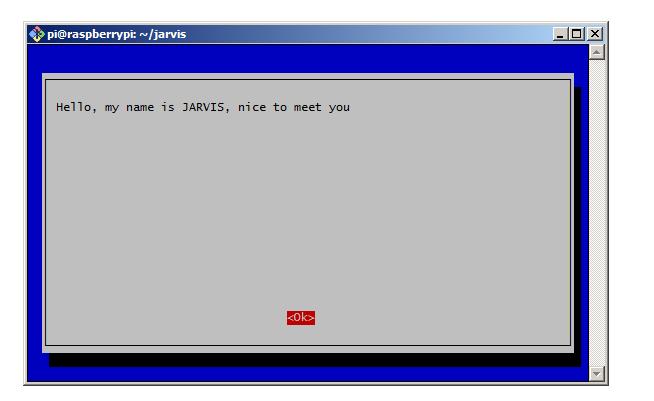
5. Wizard starts
6. Choose language
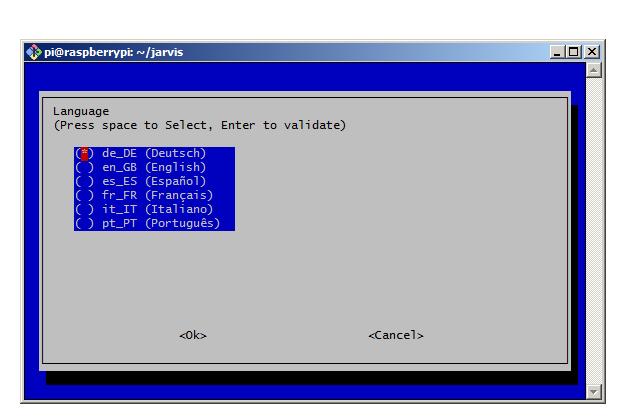
Just keep everything in English.
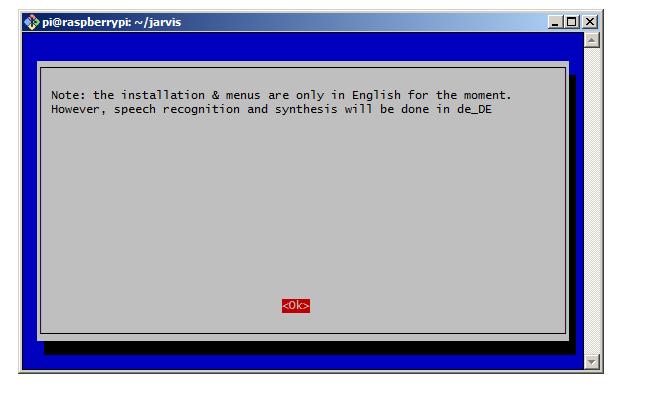
7. Warning
Just a warning for users of a different language.
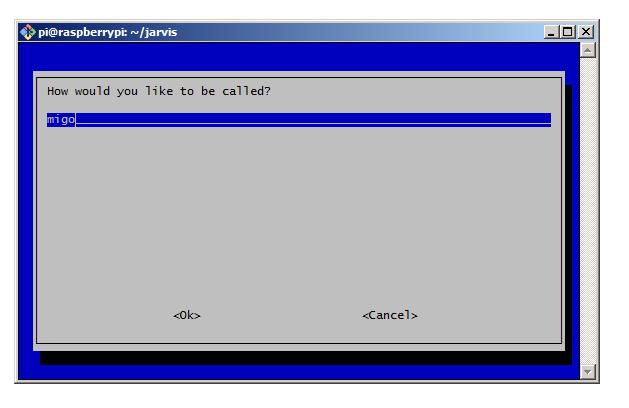
8. Choose a username
9. Speaker test
Jarvis plays a sound, applause or something - if you hear it, confirm. If not, you have to setup card and device manually by choosing their respective numbers. You'll see this in the next steps because it's the same thing with the microphone.

10. Microphone test 1
Confirm and speak normally for about three seconds. Lound and clear! If everything is ok, you will hear your voice repeated. If not:
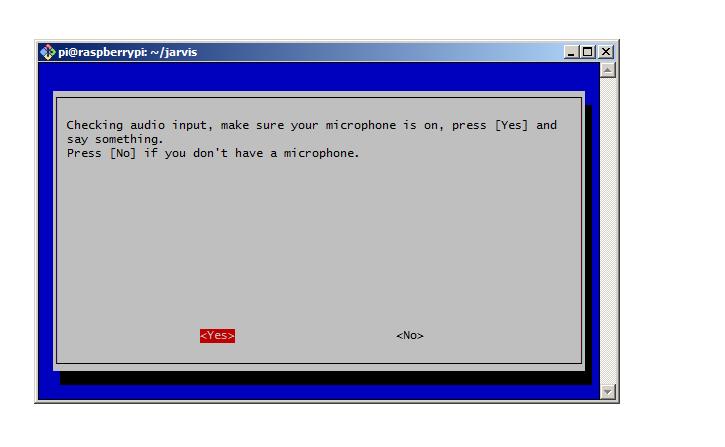
11. Microphone test 2
Try a combination of card and device numbers and confirm:
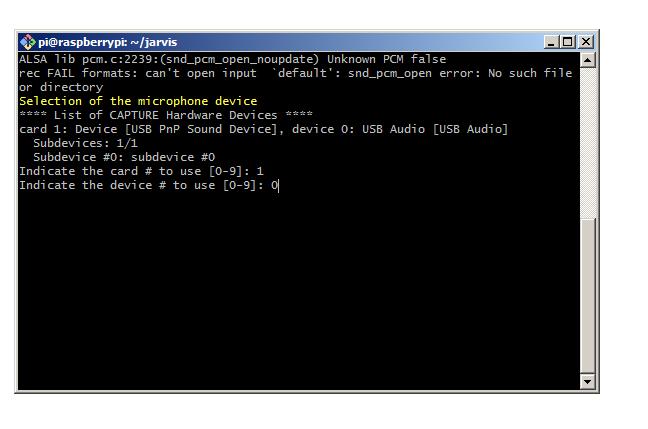
12. Microphone test 3
If the mic can be found, follow the former 3-seconds-dialog, try again and so on ...
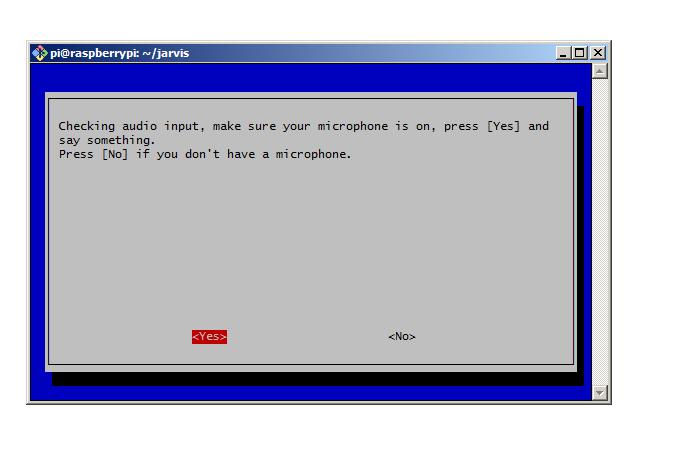
13. Microphone test 4
... until it works. Then confirm.

14. Microphone configuration starts

15. Silence
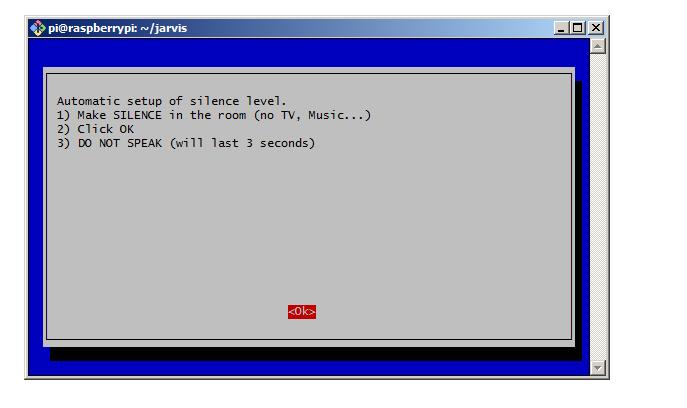
First, the mic has to learn what silence means in your room. So confirm and be absolutely quiet for about three seconds again. If it's too loud you can readjust the sensitivity. You'll see these dialogs in the next steps because the speech sensitivity uses the same.
16. Microphone sensitivity
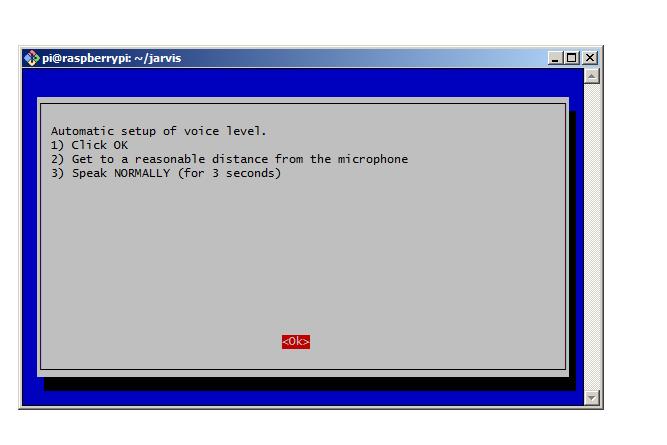
This time you confirm and again speak for 3 seconds loudly and clearly.
17. Warning
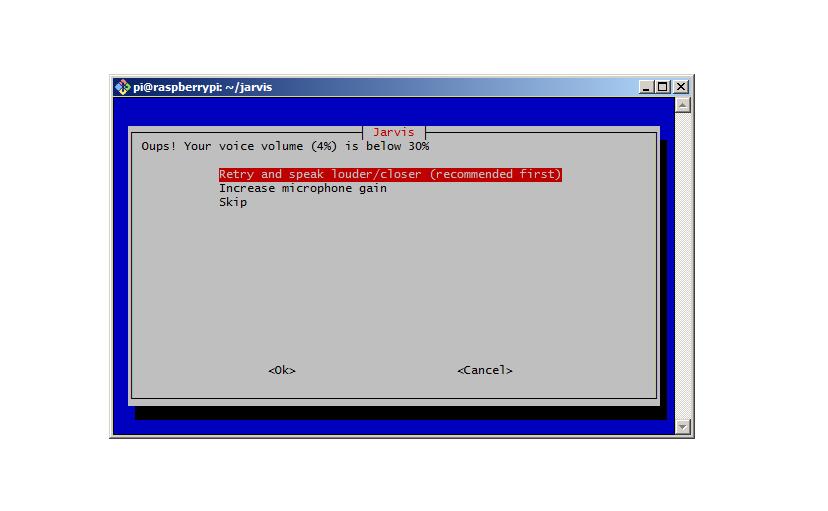
If you're not loud enough you can try again or increase the sensitivity with Increase microphone sensitivity.
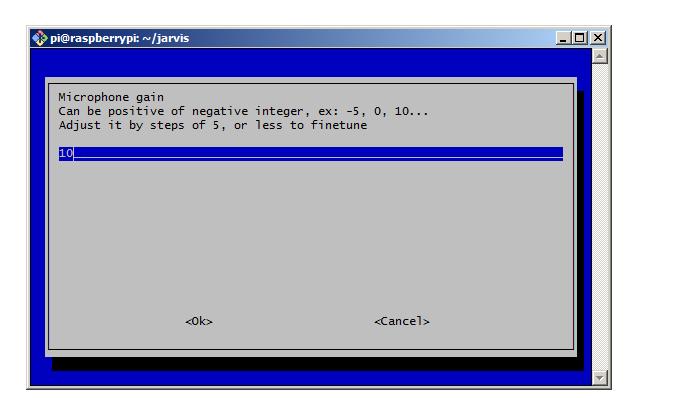
18. Increase gain
Increase in steps of 5, confirm, repeat - again, until it works.
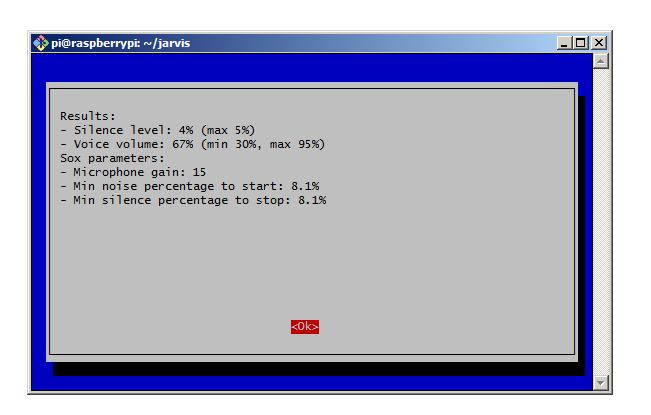
19. Mic config ends
20. Hotword engine
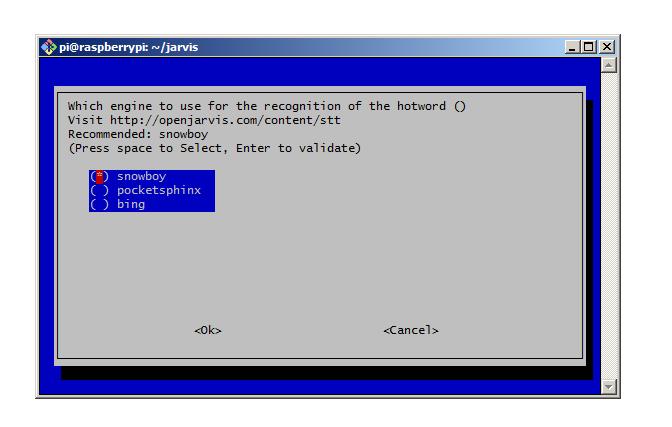
The hotword engine manages, well, the recognition of your hotword. Just use the default snowboy. On Systems other than Raspbian choose on of the other options; there are just ready-to-install snowboy packages for Raspbian.
21. snowboy installation
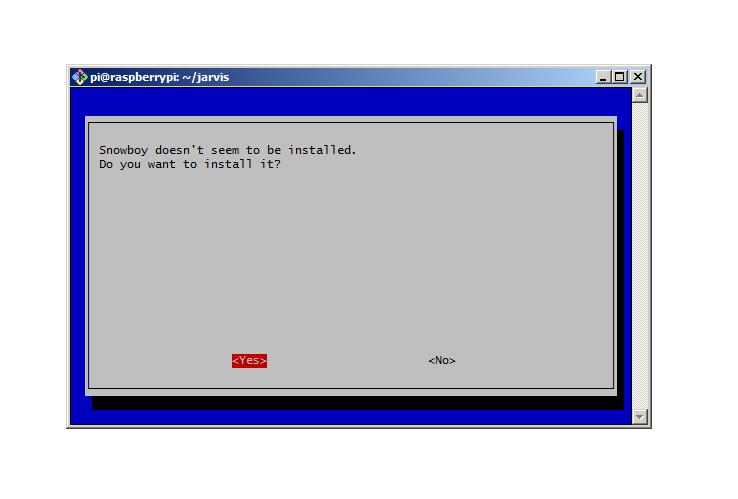
Confirm ...
22. snowboy installation 2
Confirm ...
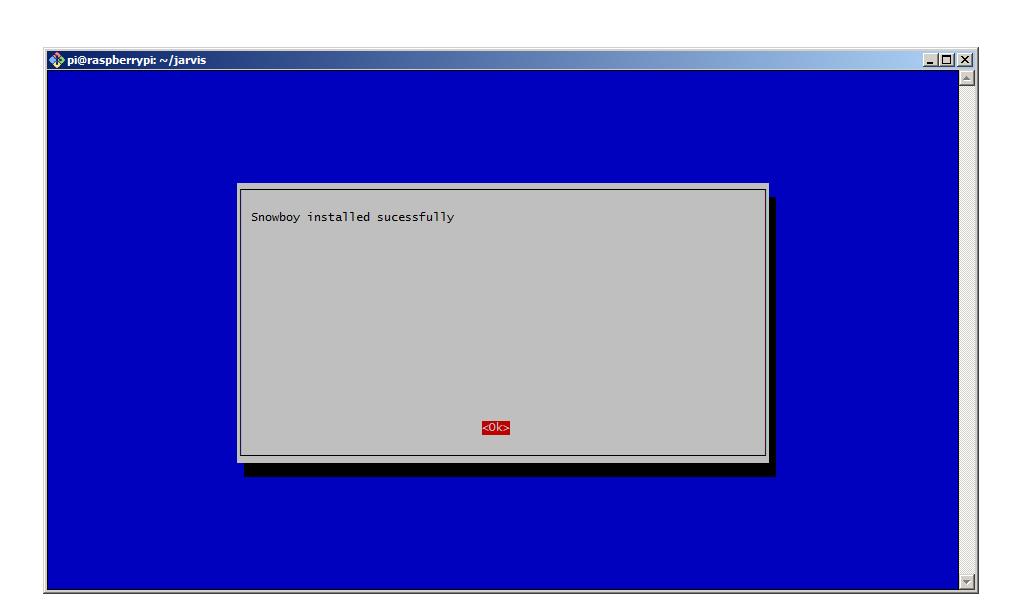
23. snowboy configuration 1
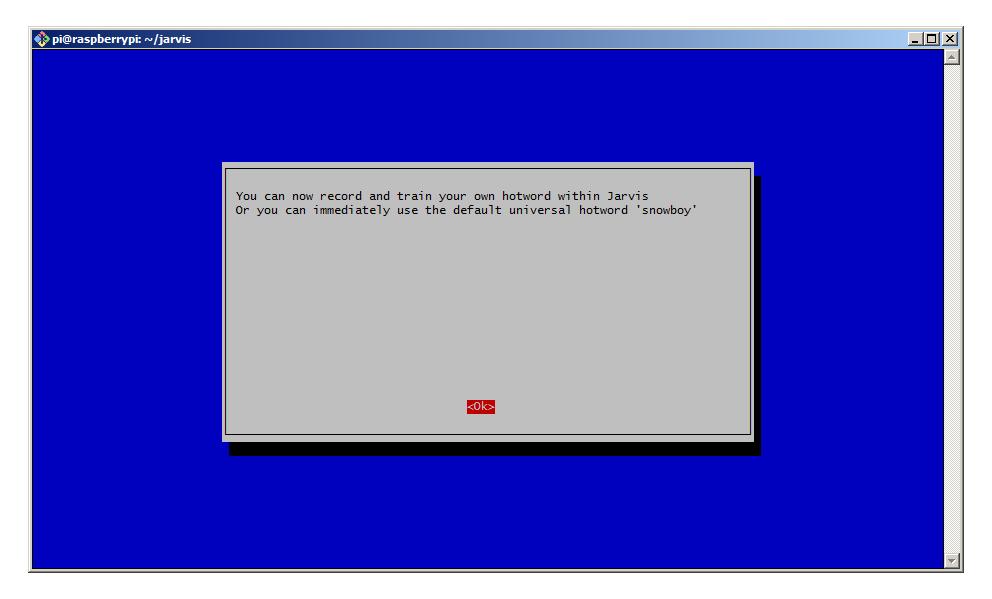
24. snowboy configuration 2
Stick to the default hotword snowboy - ist works good, you can reconfigure later.
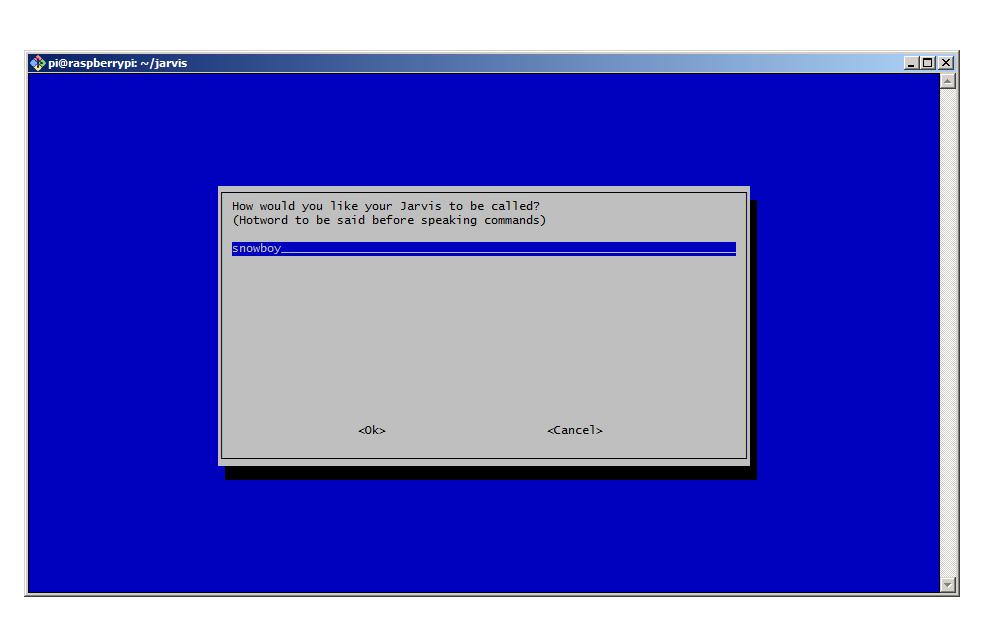
25. SST engine
Now you choose a speech to text engine (STT) that is responsible for voice recognition. Stick to the dafault bing. You find an overview of all STTS on the Jarvis homepage.
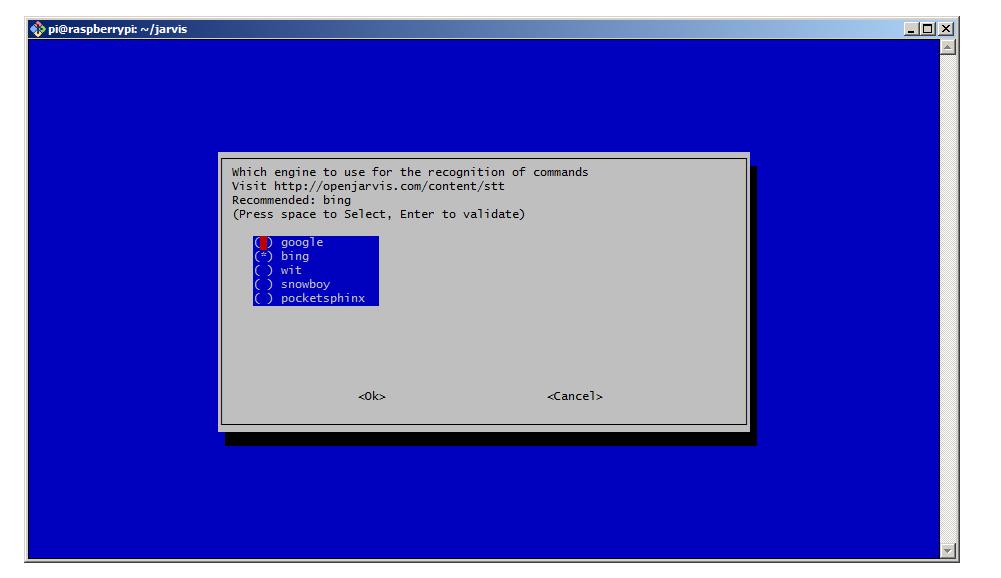
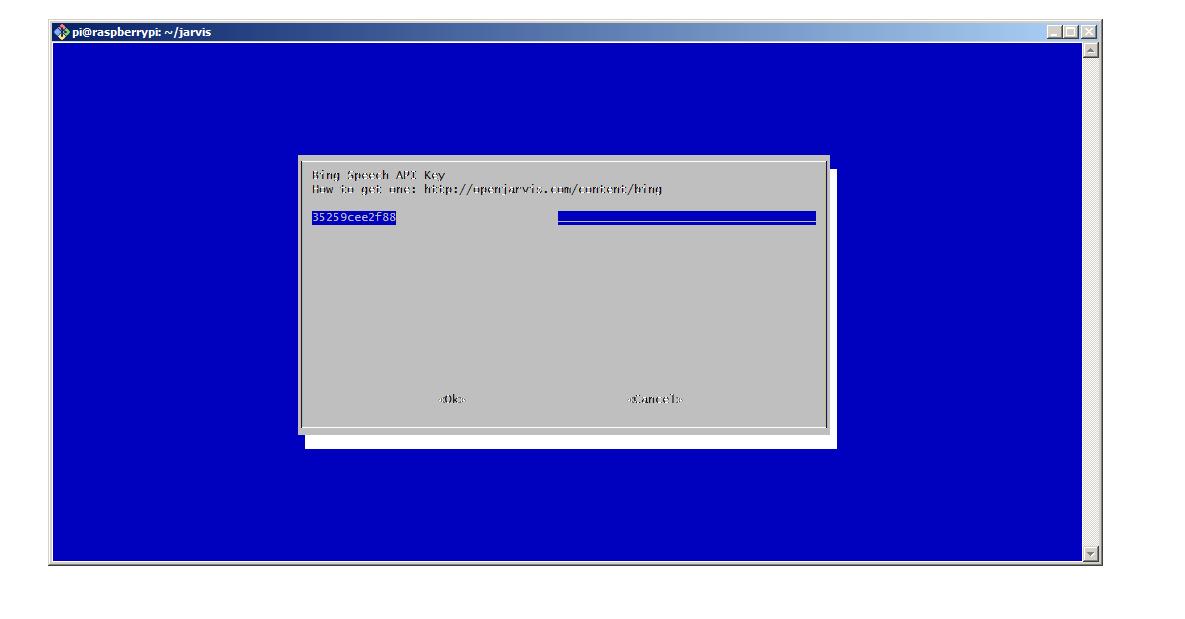
26. Paste API key
Now paste one of the API keys.
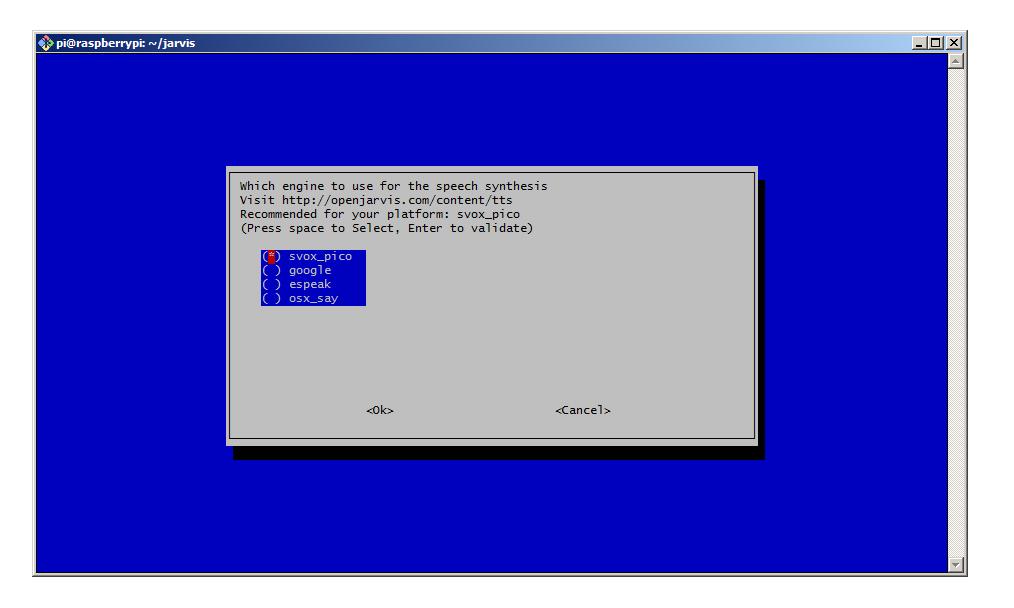
27. TTS engine
The text to speech engine (TTS) enables Jarvis to not just listen but also answer and read aloud. Again, stick to the default svoxÖpico.
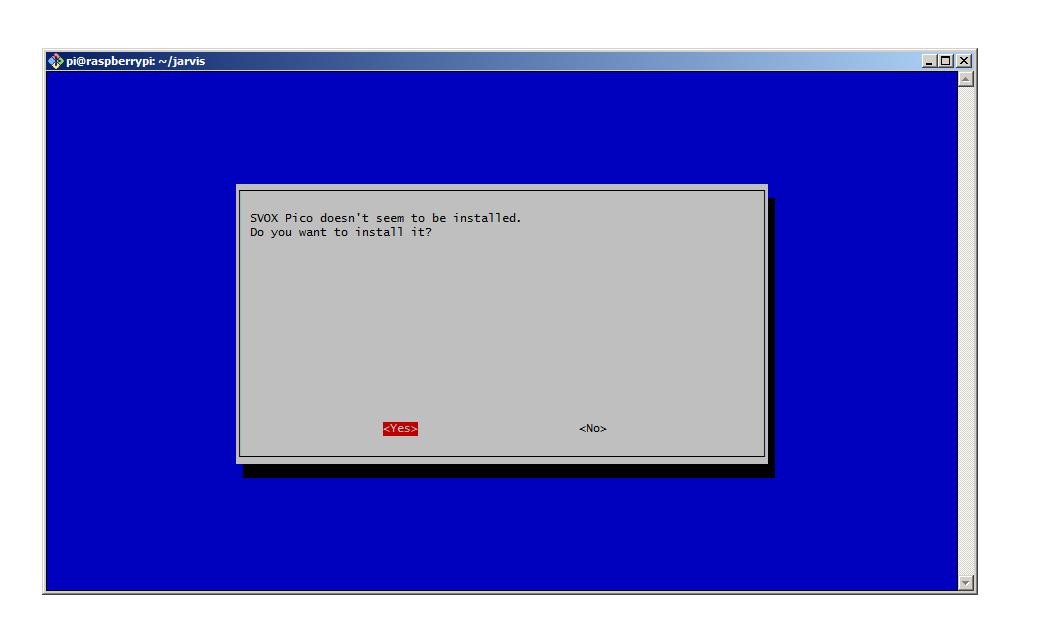
28. svox_pico installation
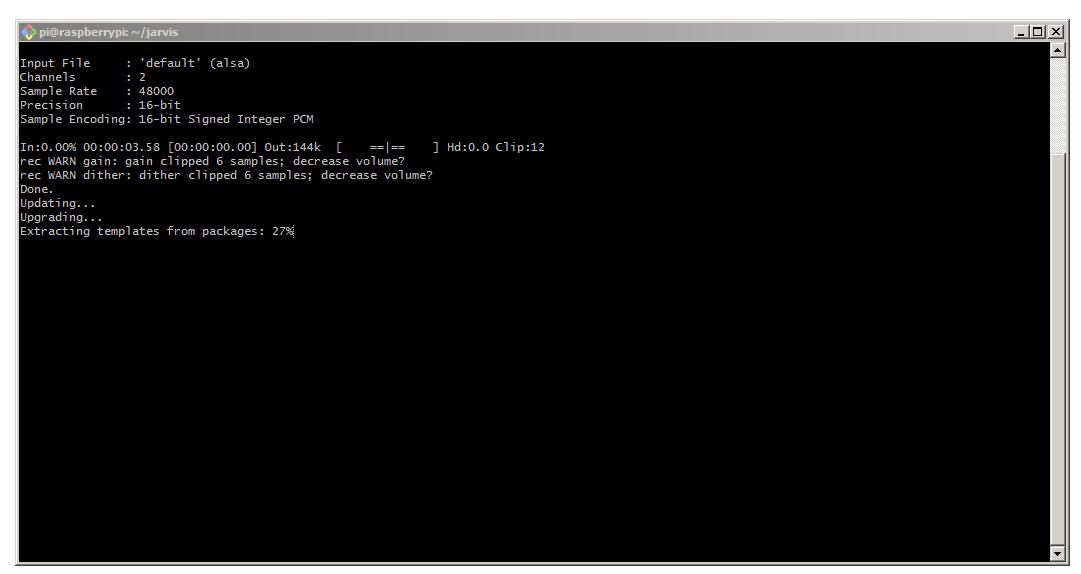
29. Update and upgrade
Promptly after the svox_pico installation the wizard starts an upgrade. That may take up to about 2 hours if you used the old Jessie on a Raspberry Pi 2. No status information, just be patient.
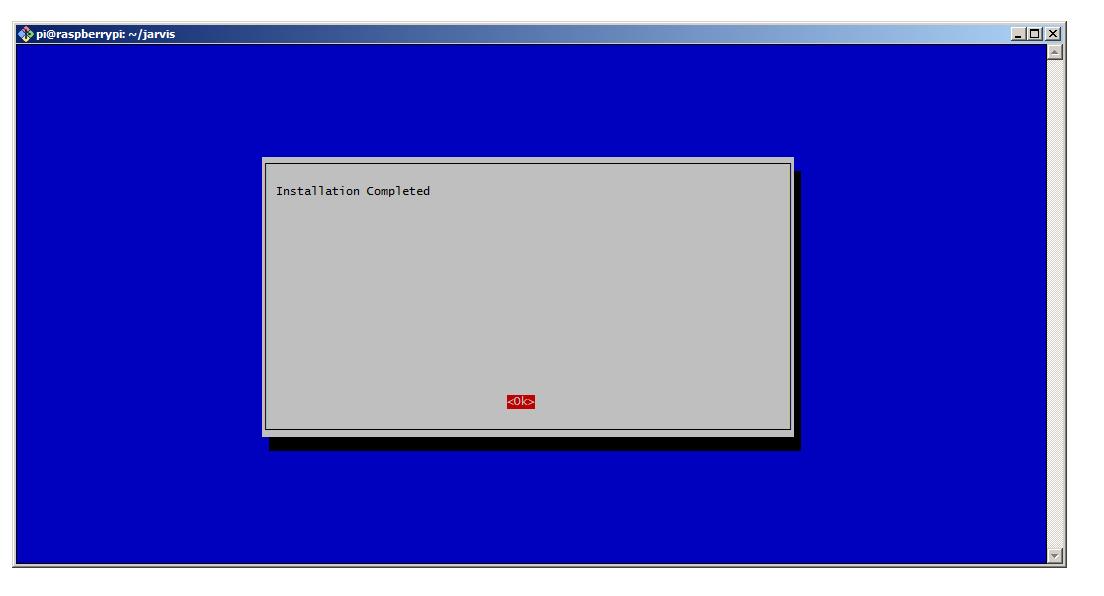
30. Installation complete
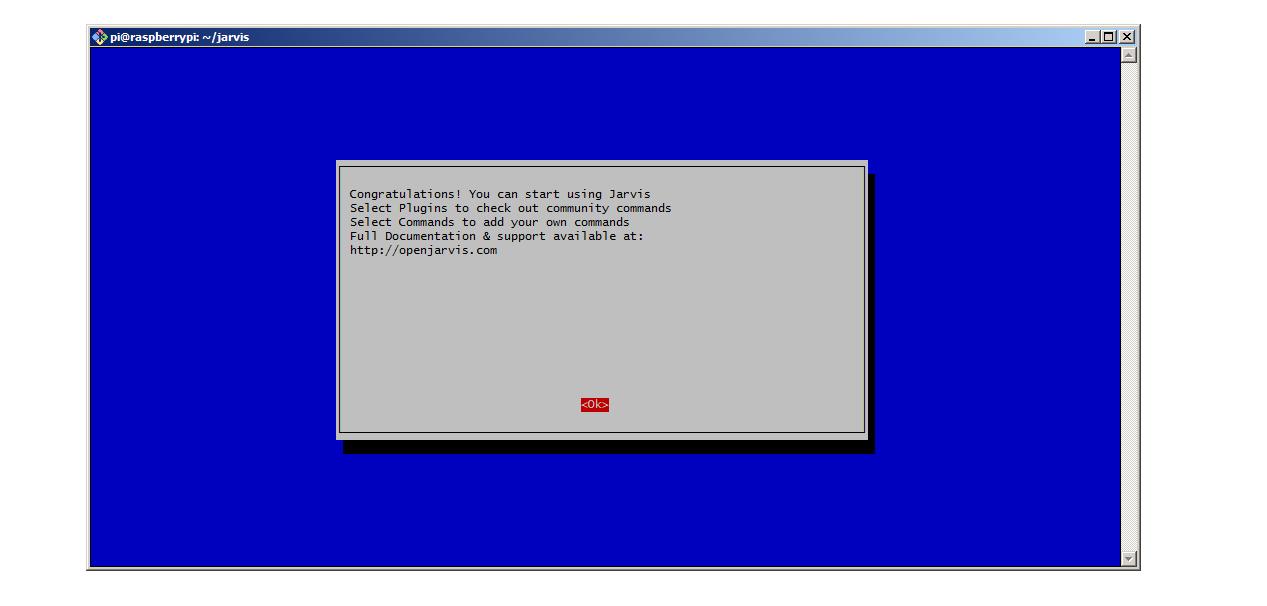
31. And again: complete
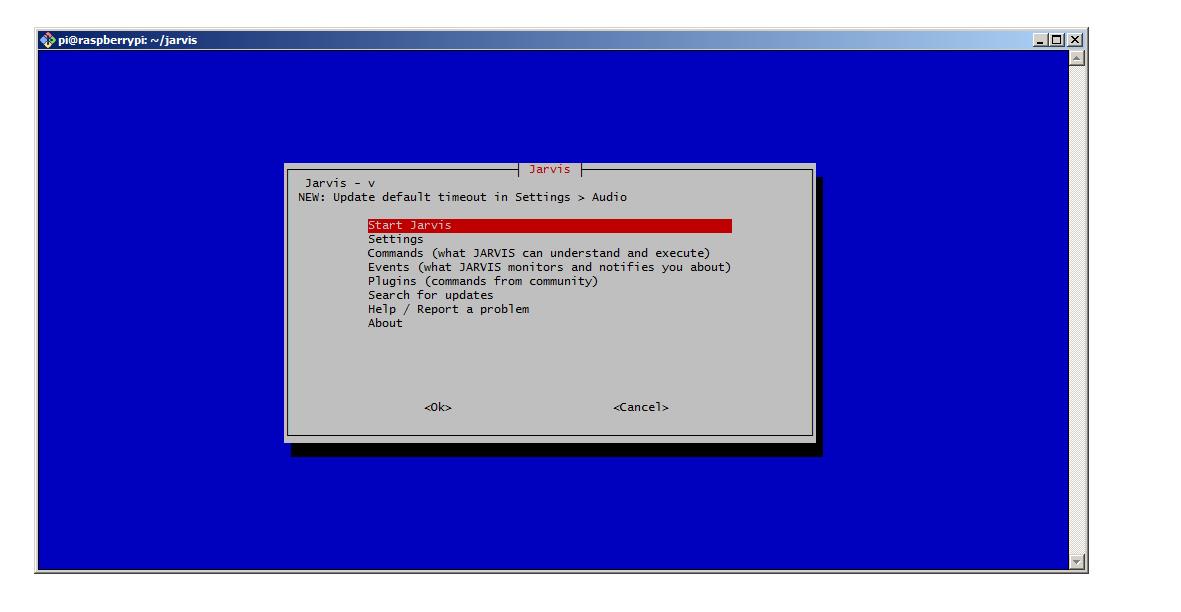
32. Start Jarvis
Start Jarvis in a terminal window with
jarvis
and choose, of course, Start Jarvis.
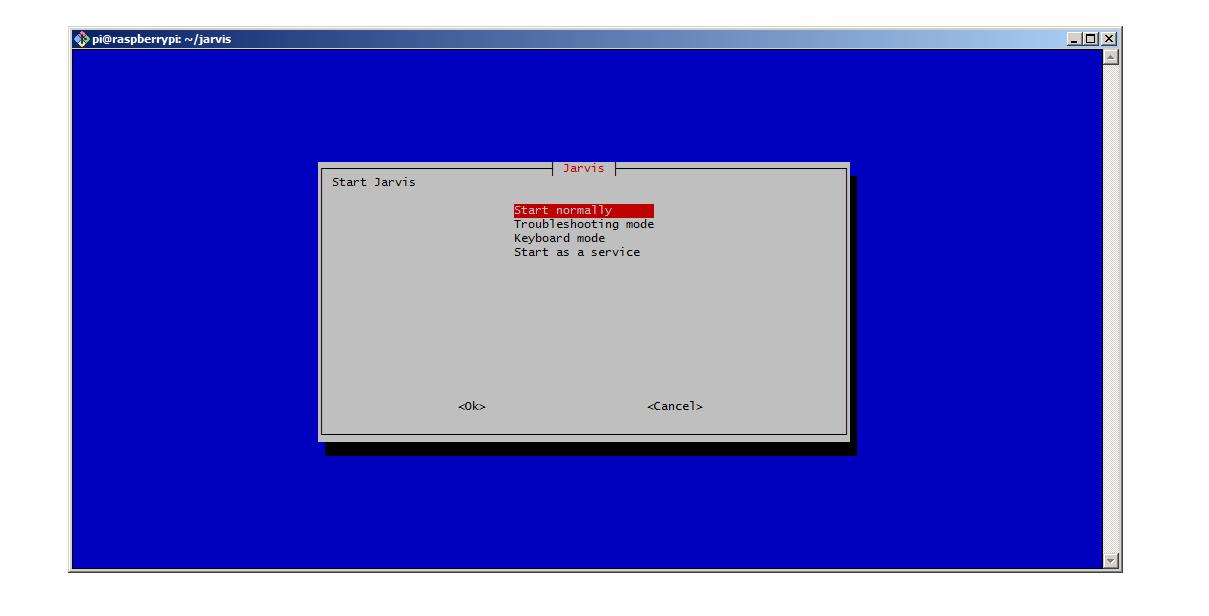
33. Start Jarvis 2
Start normally ...
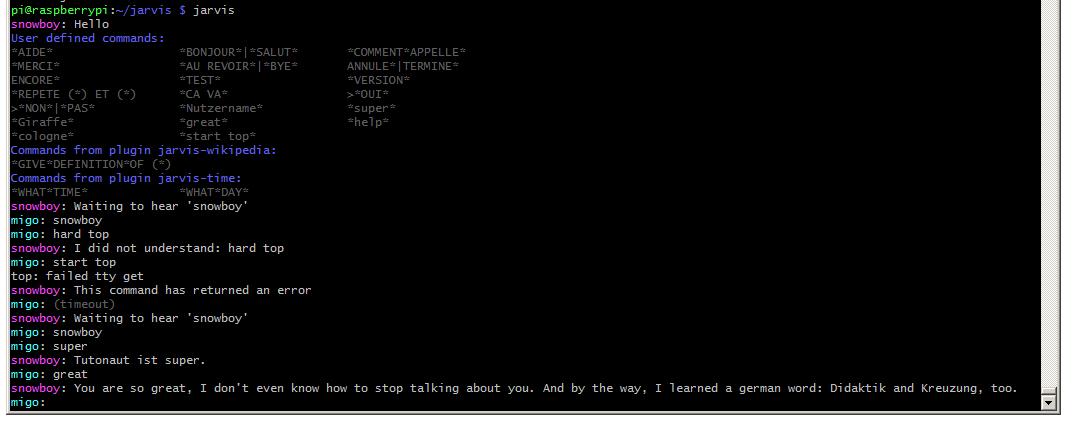
34. Use Jarvis
Javis starts with a simple status information and lists all available commands. But: The language has to match. Probably only bye bye and test work in English. But first: Remember to say snowboy to activate Jarvis. Quit with bye bye or Strg+C.
35. Install plug-ins
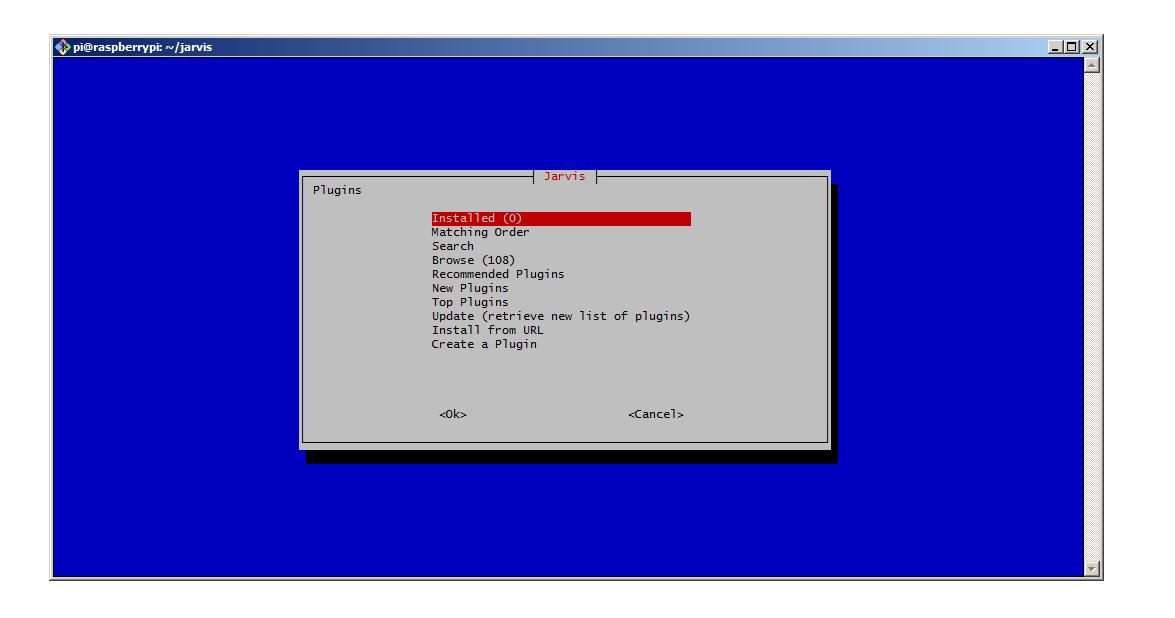
There aren't that many plug-ins and may are in French. Anyway, the Wikipedia plug-in understands English. From Jarvis' main menu go to Plugins/Browse.
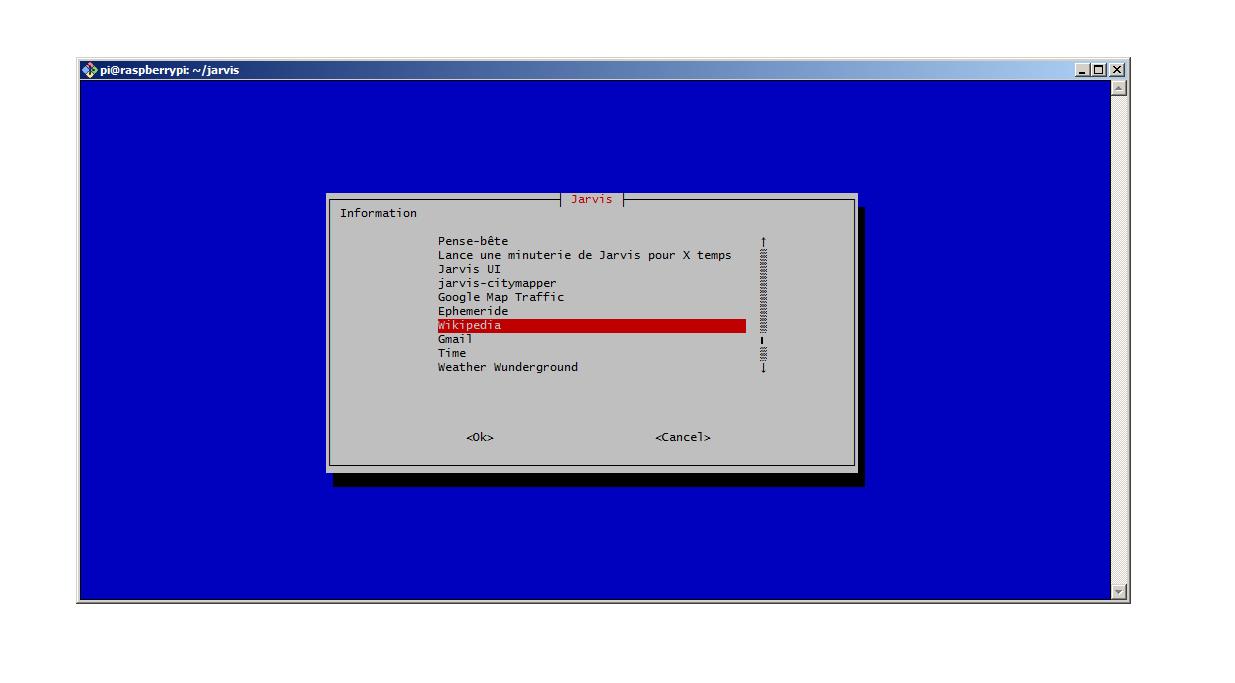
36. Wikipedia plug-in
Choose to show all plug-ins and look for the Wikipedia entry. To install just confirm the dialogs. After that you can start Jarvis again and ask questions with Give me the definition of SOMETHING - try it wiht train, that works well and the answer is short.
37. Individual commands
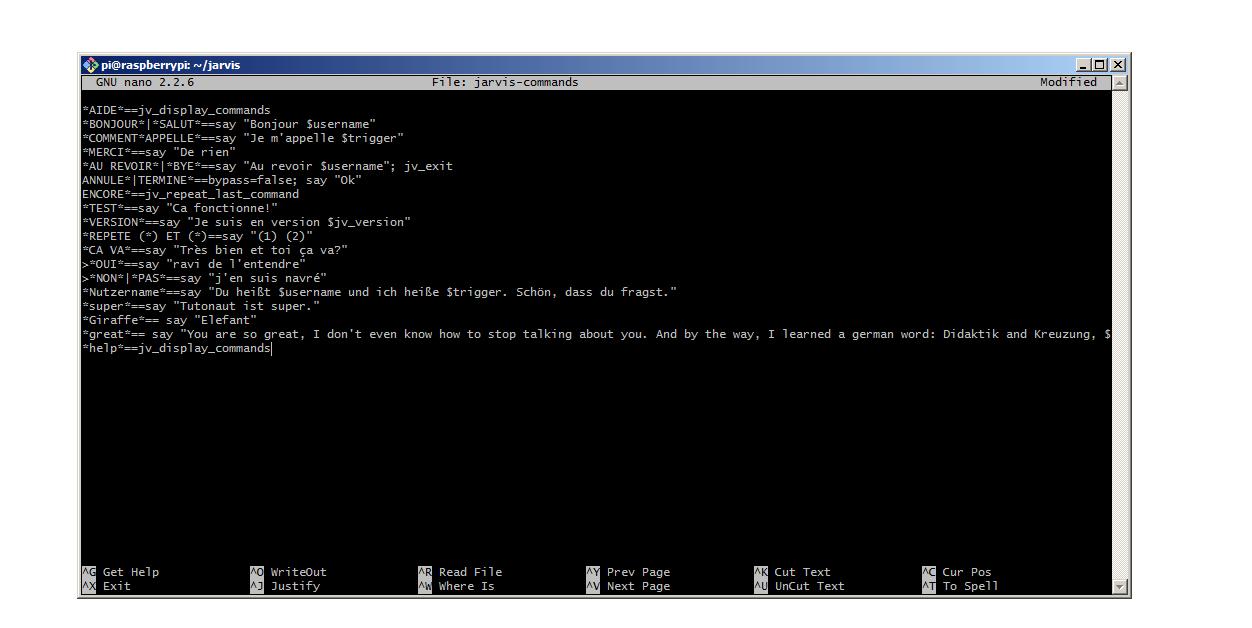
In Jarvis' main menu open the Commands entry. A texteditor pops up and you see the pretty simple syntyx of commands:
*test*==say "What shall I say?"
So if you say "test", Jarvis will answer "What shall I say?" - simple, isnt't it? You can use shell commands within the answer part:
*test*==say "Today on the blog: $(curl Have a nice day."
curl reads the HTML file of the given URL and Jarvis would read it aloud. Since HTML code ist not really fun to listen you can enhance this by converting HTML to human readable text:
*test*==say "$(curl | html2text | grep -A5 "My Search Term")"
Hey - you can use pipes! First, html2text converts the HTML code to text, grep searches for a given term and shows matching lines plus the following five lines by -A5. This works great for stuff like sports results or short news.
One more little thing:
*test (*) and test (*)==say "You said (1) and you said (2)"
You can assign values to a variable with (*) and read them with (1), (2) und so weiter.
The best thing: Triggering scripts:
*banana*== /home/pi/banana-script.sh
Yes, it's that easy.
38. Up to you
OK, Amazon can do a liiiiitle more stuff out of the box. But Jarvis can be enhanced as easy as possible whareas setting up Alexa Skills in Amazon AWS is a horror. And hey, you can use scripts - and shell scripting on a moderate level is more or less simple and definitly well documented on the internet. It's up to you to fill this working voice-controlled-barebone-framework-thingy with life and ideas.
What about an voice control for the media center Kodi? Well, we have a howto for that too - just in German, but with images ;) If you want that Kodi post in English too, just leave a comment and I'll translate that too.


